Hey there, Shopify enthusiast! Ready to supercharge your online business? ???? In this guide, we’re diving into the exciting world of Facebook pixel. In this guide, we’ll show you how you can set up a Facebook pixel on Shopify sites. Get ready to unlock the potential of your e-commerce journey and make your data work magic for you! Let’s get started!
At the very beginning, you have to create a pixel on Facebook business manager. Because you will install Facebook pixel you will need it! Anyway, you may have created this before, if yes then you just need the pixel code. So let’s deep dive!
How to create Facebook pixel?
Simple. First, go to Facebook business manager by this link: https://business.facebook.com/. After clicking the settings scroll some more then click the business settings. It will open a new tab. After that, on the left, scroll down and go to the dataset. From there you can create Facebook pixel. If you can not do this see the picture. There is also a video, check this out if you get stuck.
After clicking the settings scroll some more then click the business settings. It will open a new tab. After that, on the left, scroll down and go to the dataset. From there you can create pixels. If you can not do this see the picture. There is also a video, check this out if you get stuck.
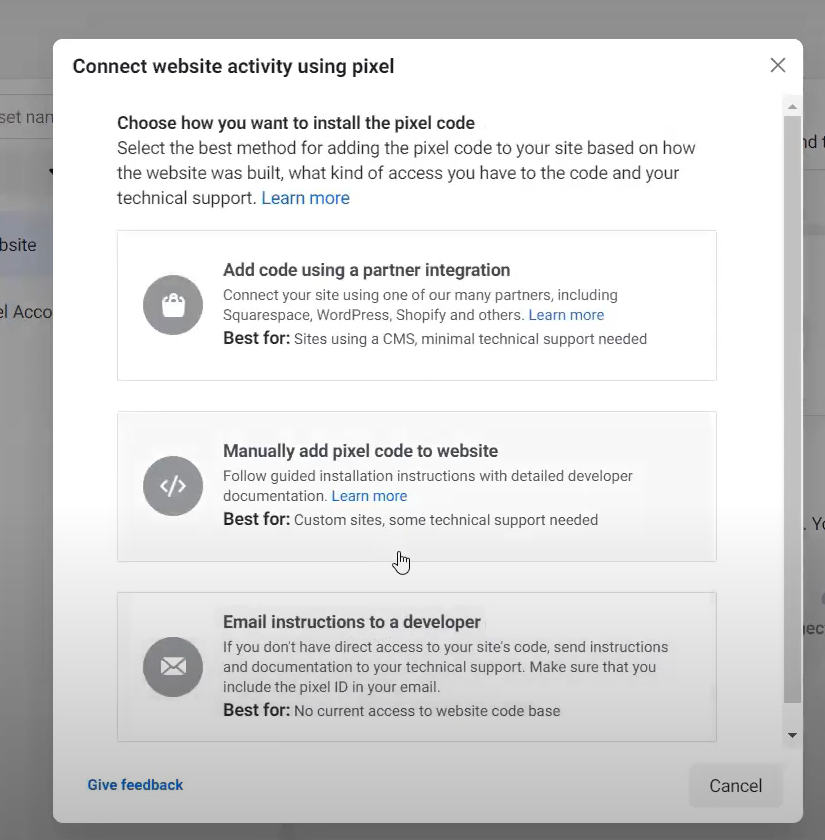
Installing the Pixel Code on Your Shopify Site
Now that you’ve created your Facebook Pixel, it’s time to install the code on your Shopify site. I’ll walk you through the easiest way to do this.
Setting up Facebook Pixel in Shopify is a breeze! Here’s a step-by-step guide to help you get started:
Step 1: Access Your Shopify Dashboard Log in to your Shopify account and head to the dashboard.
Step 2: Navigate to Online Store In the dashboard, click on “Online Store” to manage your store’s online presence.
Step 3: Access the Theme Settings Under “Online Store,” locate and click on “Themes.”
Step 4: Edit Your Theme Code Look for the three dots (…) and select “Edit Code.” Don’t worry; this won’t harm your website.
Step 5: Locate the Website Code You’ll be directed to a new page containing your website’s code. Simply follow along with our instructions.
Step 6: Follow Facebook’s Guidelines As recommended by Facebook while creating the FB Pixel, you need to install or place the code under the <head> section of your website.
Step 7: Find the <head> Section To do this, use the Chrome Find function. On Windows, press CTRL+F, and on Mac, press Command+F. Search for <head>; you’ll find it in the code.
Step 8: Create Space To make room for your code, simply click in front of <head> and hit the ENTER key.
Step 9: Paste the Pixel Code Now, paste the Facebook Pixel code into this space.
Step 10: Save Your Changes Locate the “Save” button at the upper right-hand corner of the code editor and click it.
Step 11: Double-Check with Facebook Pixel Helper To ensure everything’s set up correctly, you can use the Facebook Pixel Helper Chrome extension.
That’s it! You’re all set up with Facebook Pixel on your Shopify store. This will help you gather valuable data and insights to enhance your marketing efforts and grow your business. Happy tracking!